The Microsoft Project Add-In for PPO (MSP Add-In) is an add-in / plugin for Microsoft Project that allows you to update your MSP schedule based on information in PPO, e.g. you have updated your actual progress on the tasks in PPO and now want to synchronise that back to your MSP schedule.
This article explains how to go about installing the add-in.
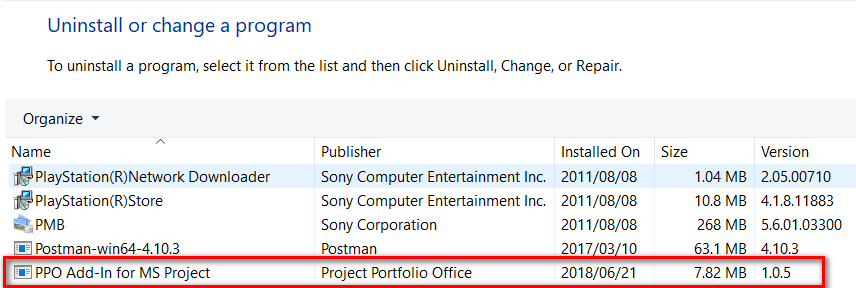
STEP 1: Uninstall any previous versions of the MSP Add-In
In order to install the latest version of the MSP Add-In, all previous versions of the Add-In have to be removed from your machine.
To do this access the Control Panel and select Uninstall a program. Select the "PPO Add-In for MS Project" (it may have s slightly different name depending on your current version) and click on Uninstall.
Proceed with the uninstall process before continuing to the next step.
STEP 2: Download the latest version of the MSP Add-In
- The latest version of the MSP Add-In can be downloaded from the link at the bottom of this FAQ or from the Resources page on the support portal.
- When you click on the installation link the compressed file should be automatically downloaded.
STEP 3: Install the MSP Add-In

- Double click on the compressed file (either from your browser or from the Download folder) and you will see two files as above. If your MS Project is 32 bit, the 32 bit Add-In should be installed. If your MS Project is 64 bit, then install the 64 bit Add-In. To see what version is installed, open Microsoft Project. Select File > Help and under the heading About Microsoft Project, it will tell you 32 or 64 bit.
- Double click on the applicable file.
- Follow the instructions through the Installation Wizard (you can just accept all the defaults).

- Once the installation is complete you will see the following screen.
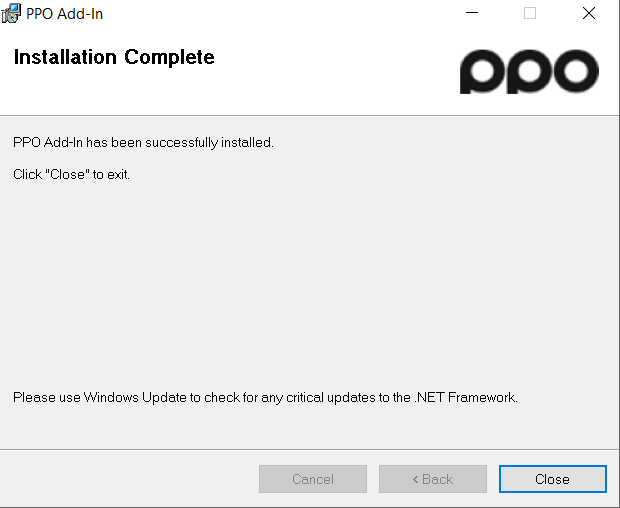
- Click on Close.

STEP 5: Using the MSP Add-In to update your project plan